Removing Gel Nail Polish without Damaging Your Nails
Need to get your gel nail polish off and don’t have the time or patience to head to the salon. Do not worry, we have a good news for you. You can remove a gel manicure at home without going to the salon — and without damaging your nails. In the article below, nail experts will talk about how to remove your gel nail polish at home without totally wrecking your nails.
Nail art is becoming more and more popular. Nails are considered as one of the “secret weapons” of stylish girls. And in there, gel polishes are used for the increasingly popular gel polish manicures. These manicures are gentle to the natural nail and the polish stays intact on the nail for at least a couple of weeks with high shine and no cracking, peeling or chipping… But when it comes to removing said manicure? Not so fabulous. Unfortunately, a regular nail polish remover isn’t going to cut it. The best way to safely remove your gel polish does take a bit of time and patience, but it will help to keep your nails in good shape. Whether you’re wearing a gel manicure from the salon or your own handiwork, we’ve broken down the best and easiest method to effectively remove gel polish without damaging nails.
The first, find well-ventilated space and protect your skin
The removal process should be do in a well-ventilated area so you’re not breathing in all that acetone. And the process can’t really be done in a rush — you’ll need about 30 minutes.
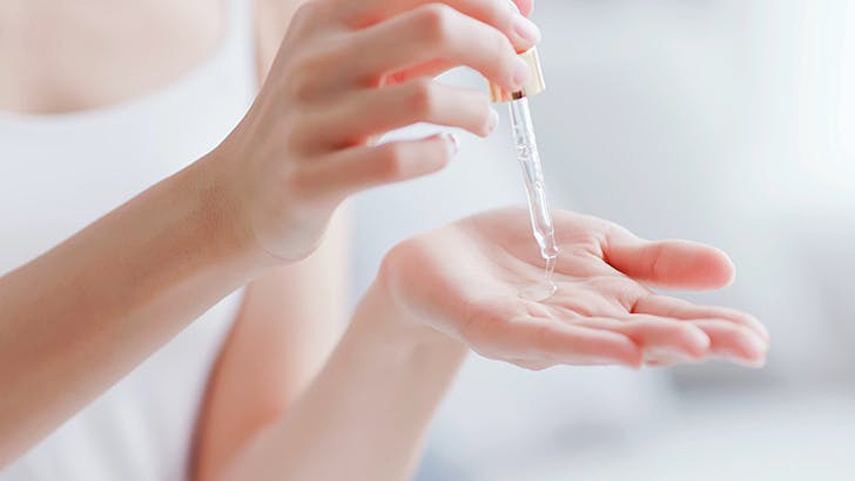
In addition, because you’ll be soaking your nails in acetone, it’s important to shield the skin around the nail before getting started. You can coat the skin surrounding your nails and fingertips with a cuticle oil or a thick cream, or even Vaseline to provide a protective layer.
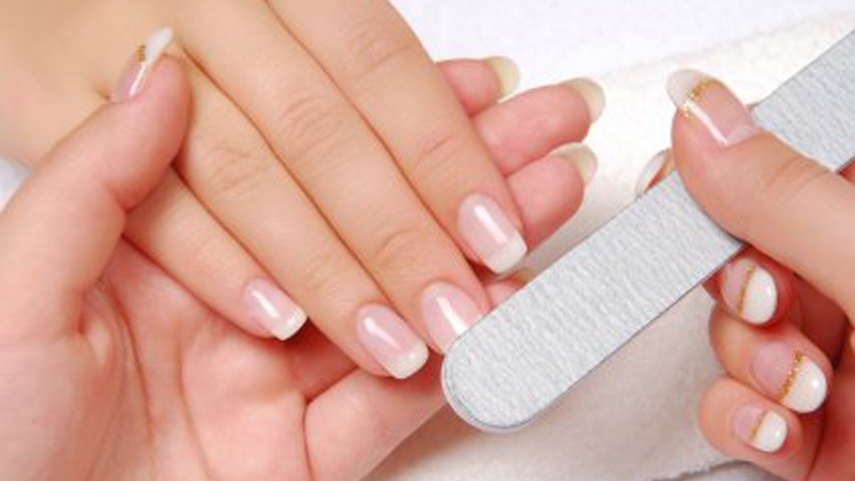
The second, buff your nails / break out the nail file
Before you break out the nail polish remover, grab a coarse nail file. The point here is not to sand all the polish off — you’re really just roughing up the top coat, and break open the top layer of gel to help acetone penetrate. Go slowly and stop once you’ve removed the shine.
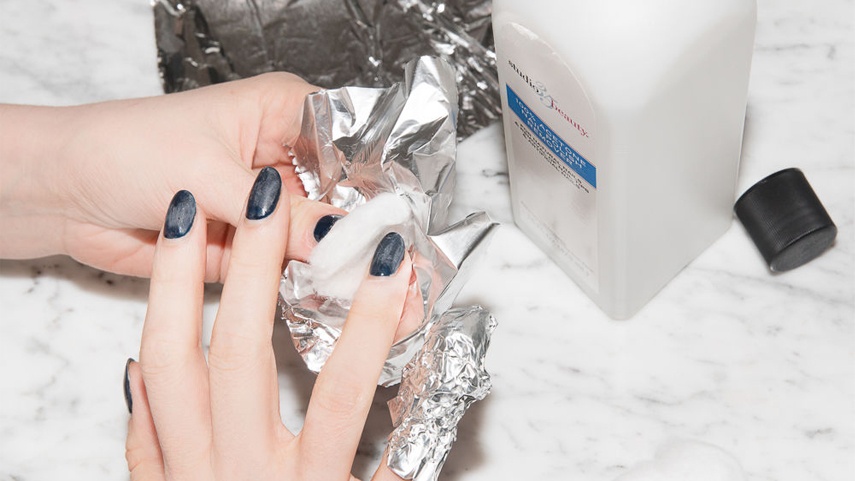
The third, soak cotton balls in acetone
Next, soak a small piece of cotton, or a cotton ball, in acetone and place it on the nail. Just be sure this is 100 percent pure acetone. Regular nail polish remover contains acetone but is diluted, you would have to allow the nails to soak for a very long time. You need pure acetone to effectively and quickly break down the gel polish.
You can do this in a small bowl filled with acetone and a drop or two of cuticle oil, or you can use a soaked cotton ball to sit on each talon. Cotton balls are able to hold on to the acetone better as your nails soak. For the best results, steering clear of formulas with moisturizing ingredients (even though they’re tempting) since they tend to slow down the soaking process, leaving you with acetone fingers for longer.
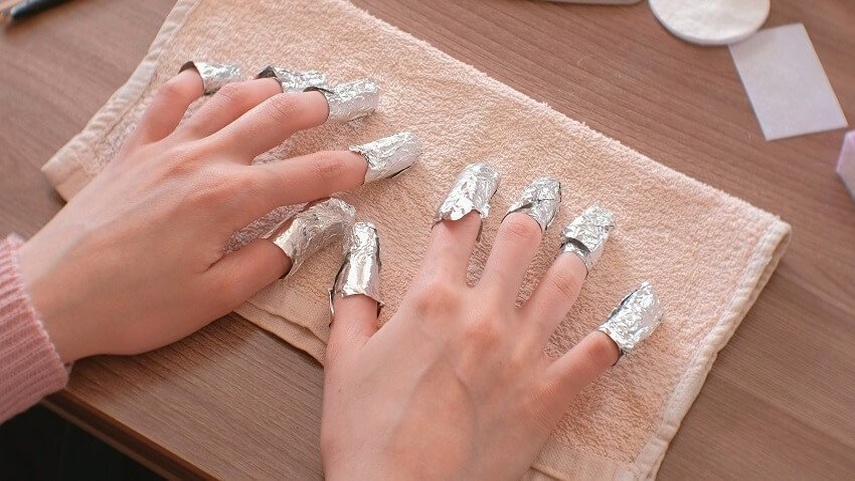
The fourth, wrap your fingertips with aluminum foil
Tear the foil into little squares (about three inches by three inches). Then, start wrapping your fingertips in the squares and secure the cotton with aluminum foil. Start with your non-dominant hand — it makes things easier. Repeat this wrapping on all 10 nails. Then, after 10 or 15 minutes, check your progress. If you don’t feel coordinated to use the foil method (it can be tricky by the end), can use gel removal clip caps.
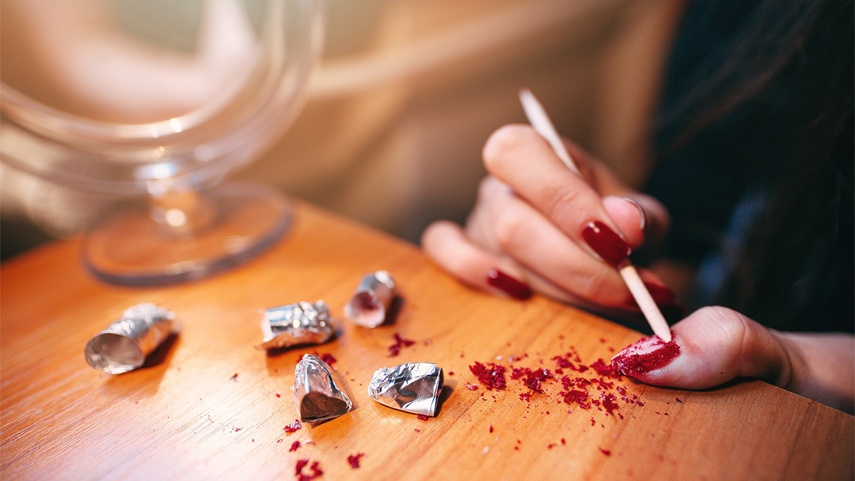
The fifth, apply a little elbow grease
Once all the gel nail polish has loosened, pull the foil off of each finger and apply slight pressure to the nail with the cotton ball. For any remaining spots, gently use a nail stick, working under the gel to lift it off the nail plate.
Wooden tools can be a breeding ground for bacteria, so dispose of them after each use and don’t share with friends. If the gel polish is being stubborn give it another five minutes to soak and then try again — patience is key here. A good rule of thumb: Don’t scrape off the polish until it’s fully soften.
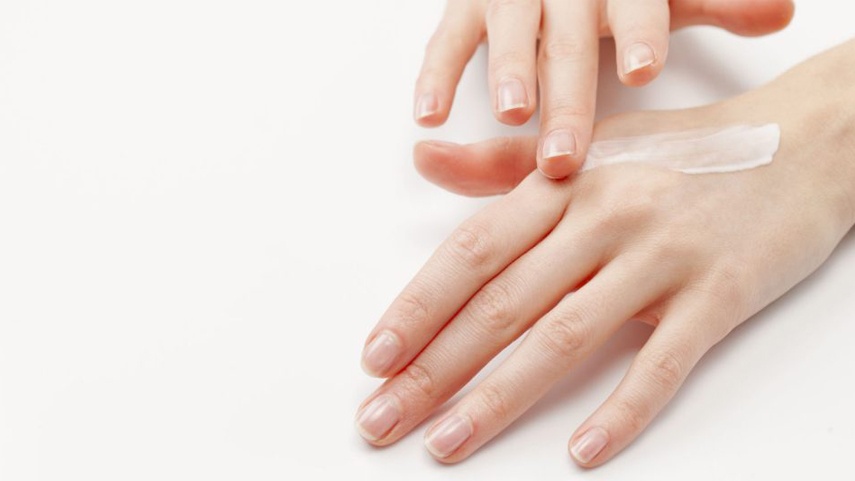
The sixth, give your nails some TLC.
After a long acetone adventure, your nails will likely be a bit dry, so it’s important to restore moisture to your nails and hands after a DIY removal. After a few minutes, wash your hands and apply an ample amount of hand cream to restore moisture. Do this for several nights and then feel free to polish back up. If you need to reapply gel the same day, try to give your nails a few hours to breathe first.
Taking off gel polish requires time, patience, and no picking! If you’re removing gels yourself, the one thing you should never do is pick or peel the polish off. It’s a sure-fire way to cause damage, and it can mess with future manicures. Applying cuticle oil to keep the area hydrated and healthy. This will not only protect the skin around your nails, but your actual nail beds, too.
elodiethenaillounge.com