Bridal Nail Timeline Guide for a Flawless Finish
Your wedding photos will catch the close-up moments: your hand around the bouquet, the ring exchange, a champagne toast, and that just-married hand-in-hand walk. A thoughtful bridal nail timeline guide keeps those details feeling calm rather than rushed, while giving your nails the strength, shape, and soft glam finish your look deserves.
The right schedule depends on your natural nails, the service you choose, your wedding weekend plans, and how hands-on your final week will be. A bride who loves a short natural manicure has different needs than someone wearing Gel-X extensions with pearl chrome and detailed art. The goal is not to follow one rigid formula. It is to arrive at your wedding with nails that feel polished, comfortable, and completely like you.
8 to 12 Weeks Out: Choose Your Bridal Nail Direction
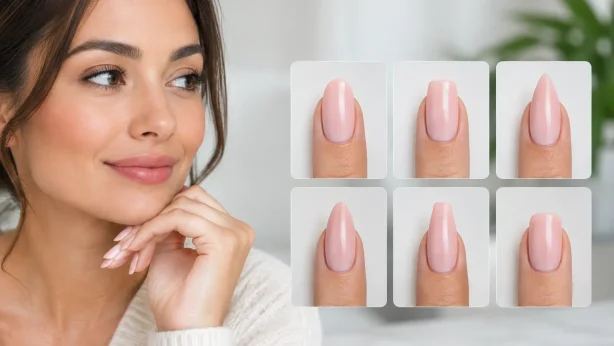
This is the sweet spot for inspiration, not pressure. Save a small collection of looks you genuinely love, then look for the common thread. Maybe it is a sheer pink, a clean milky white, a delicate French tip, tiny florals, or a little pearl shimmer. Your bridal nails do not need to match every detail of the wedding. They should complement your dress, jewelry, bouquet, and personal style without competing with them.
It also helps to think honestly about your day-to-day life. If you type constantly, care for young children, work with your hands, or are not used to length, ultra-long extensions may feel less glamorous by the rehearsal dinner. A rounded, almond, or soft square shape can look refined while staying practical. If you are already an enhancement client, this is a good time to consider whether you want to maintain your usual look or adjust length and shape gradually.
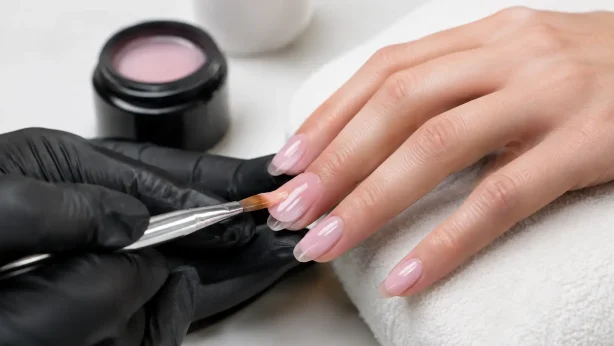
Bring inspiration to a consultation or regular appointment, especially if you are considering nail art, a custom color combination, or extensions for the first time. A trained technician can help you choose a service that makes sense for your nail condition and your vision, whether that is builder gel for added support, Gel-X for length, dip powder for durability, or a classic manicure with elevated details.
6 to 8 Weeks Out: Build Healthy, Reliable Nails
If your natural nails peel, split, or feel thin, do not wait until wedding week to address it. Begin a consistent routine now. Use cuticle oil daily, wear gloves for dishes and cleaning, and avoid using your nails as tools for opening packages or scraping labels. Small habits make a visible difference in how smooth your manicure looks.
This is also the right time for a trial if your desired look is new to you. A trial is especially useful for brides considering extensions, a bolder shape, chrome, white polish, or intricate art. Wear the set through a normal week and notice how it holds up. Do you like the length when fastening jewelry? Does the color work with your skin tone? Are you still happy with the shape after several days?
A trial does not have to be an exact copy of the wedding set. It can simply test the service and overall direction. For example, try a shorter almond Gel-X set now if you plan to wear extensions later, or test a subtle French tip before committing to a more detailed version. You will make the final appointment with much more confidence.
4 to 6 Weeks Out: Book the Final Appointment
Wedding season appointments fill quickly, particularly for Friday through Sunday celebrations. Book your final nail service as soon as you know your wedding-week schedule. For most brides, the ideal appointment falls one to three days before the ceremony.
A Thursday wedding may call for a Tuesday or Wednesday appointment. For a Saturday wedding, Thursday is often a favorite choice, with Friday working beautifully for a simple, lower-risk design and a schedule that leaves room for careful aftercare. If your nails grow quickly, you are having detailed art, or you are wearing extensions, two days before often offers the best balance of freshness and flexibility.
Give yourself enough time for the service. Bridal nails are not the appointment to squeeze between a dress fitting and a dozen errands. A relaxed visit supports better detail work and lets you enjoy the experience. At Elodie Nail Lounge, the focus is on precision, comfort, and a polished finish in a clean, elevated setting, which is exactly the energy most wedding weeks need.
2 to 3 Weeks Out: Finalize the Details
By now, decide on the exact color family, shape, length, and art. Save your final reference photo, but stay open to a professional recommendation if a slight adjustment will suit your nail bed or wear better. A sheer nude may need a different undertone than the image on your phone. A French tip may look most balanced when it is proportioned to your chosen length.
This is also a useful moment to coordinate with your beauty plans. If you are wearing a bold engagement ring, sparkling earrings, or a detailed gown, a clean neutral manicure may give the full look breathing room. If your dress and accessories are minimalist, a whisper of chrome, a tiny crystal accent, or a fine floral detail can bring in personality.
Avoid making major changes to your hands during this period. Aggressive exfoliation, new products that may irritate your skin, or at-home enhancement removal can leave nails and cuticles looking rough at the wrong time. If you have existing gel, dip, acrylic, or extensions, schedule professional removal or maintenance rather than peeling anything off.
Your Bridal Nail Timeline Guide for Wedding Week
The final week is about protecting the work, not testing new trends. Keep your hands moisturized, apply cuticle oil at night, and be mindful during packing, decorating, and last-minute DIY projects. Delegate box breaking, floral trimming, and anything likely to chip or bend a nail if you can.
If you are getting a pedicure for open-toe shoes or a honeymoon-ready moment, schedule it alongside your manicure or within a day of it. Choose a finish that fits your plans. Regular polish can be lovely but needs adequate drying time and a little more care. Gel polish offers durable shine, while a classic pedicure can be the right choice if you prefer easy removal after the celebration.
On appointment day, arrive with clean hands and realistic expectations about timing. If you are choosing a neutral bridal color, remember that precise prep matters as much as the shade itself. Clean cuticle work, smooth shaping, and carefully applied product are what create that close-up-ready result.
Afterward, treat your nails as finished accessories. Do not go straight into a spray-tan appointment, heavy cleaning session, or last-minute furniture assembly. If you are having a spray tan, plan the order with care. Many brides prefer tanning before the nail appointment so residue does not affect the manicure, but timing can vary based on the tanning formula and your schedule. Ask your beauty providers what they recommend.
The Day Before and Wedding Day
The day before the wedding, keep a small hand-care kit nearby with cuticle oil, hand cream, and a file for an unexpected snag. Do not attempt a full repair at home if something chips or lifts. Contact your salon as soon as possible so the issue can be assessed properly.
On the wedding day, apply hand cream earlier in the morning rather than right before photos, so your skin looks hydrated without appearing overly shiny. If you are wearing rings for detail shots, make sure your hands are clean and your cuticles are lightly conditioned. Your photographer may guide you, but a relaxed hand usually photographs more elegantly than a stiff pose.
Most of all, choose nails you will enjoy seeing in every memory. A bridal manicure does not need to be dramatic to feel special, and it does not need to be traditional to feel bridal. Whether you choose a timeless sheer nude, a modern glazed finish, or a design with a little fierce energy, the best final touch is one that lets you reach for your bouquet with confidence.